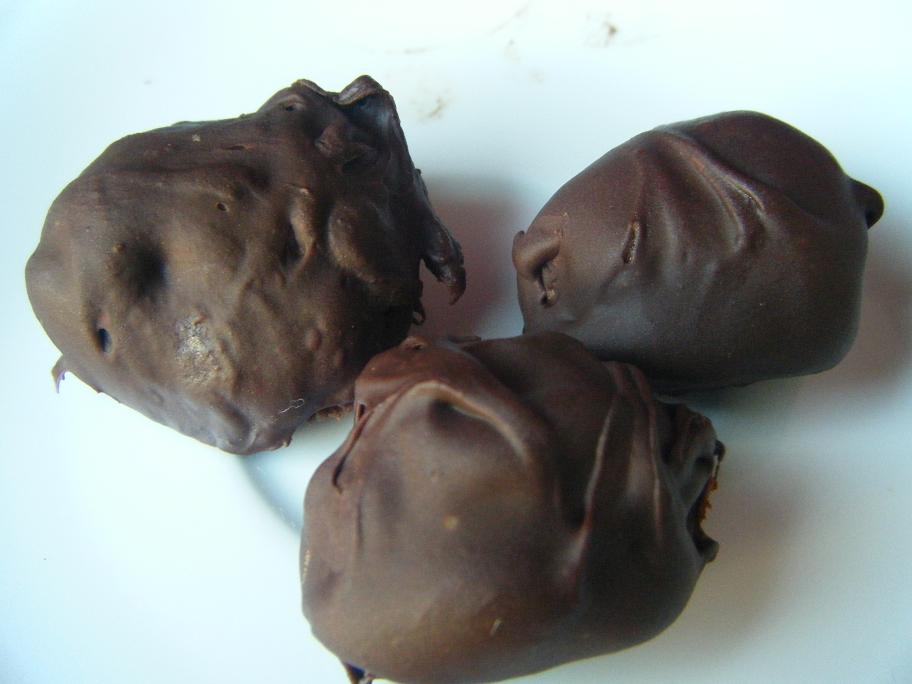
Healthy "Magic" Black Bean Truffles
So by now, you must have heard of baking, making, and creating yummy treats using black beans as the main ingredient. You may have even tried all of my Moni “Bean” Treats by now. If this is news to you though, boy are you are in for a treat! Here, right now… today… I offer you something seriously irresistible. WARNING: You will not be able to eat only one but that is okay because these are HEALTHY! (Yes, chocolate is always on my food list for antioxidants & superfoods. Just ask my clients!).
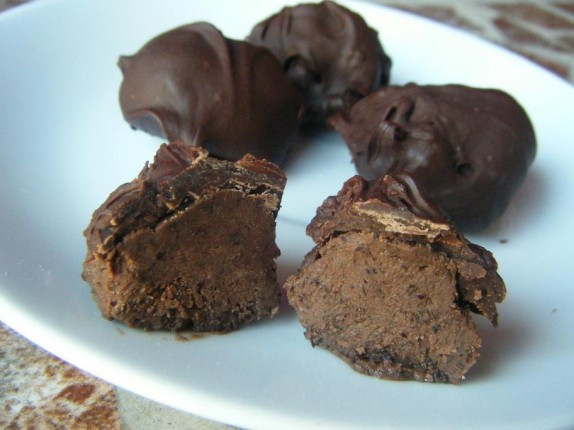
These treats are very unique, very tasty , and are actually are packed with good-for- you ingredients. I present to you Healthy “Magic” Black Bean Truffles.
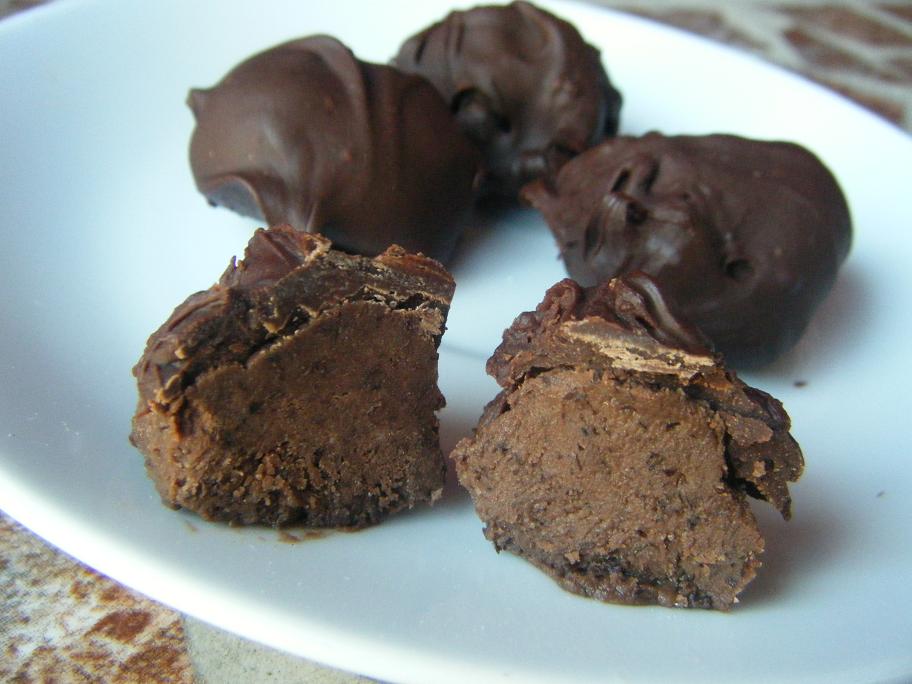
Not sold? Well imagine the “magic” of mixing black beans, with a lil’ banana, apple sauce, some peanut butter (or try my coconut oil version too!) and just a bit of maple syrup. (This is just to only name a few too!) It gets better though. Read on.
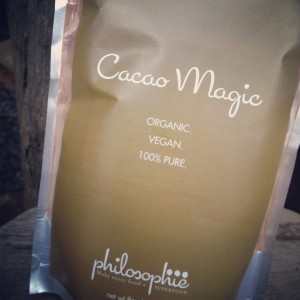
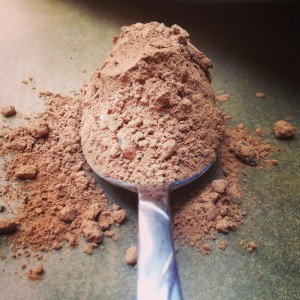
Then I also add in a product I am absolutely in love with called Cacao Magic from Super Food “Magic” Maker-The Philosophie.com. This is a antioxidant superfood blend of ingredients such as organic cacao powder, organic chia seeds, and organic cacao nibs just to name a few. Cacao Magic packs 10x the antioxidants of green tea, more magnesium than 3 cups of broccoli and more calcium than a glass of milk.
Yep. It is that good and why else would it be called “Magic!” See why I use it in this recipe. It not only tastes amazing but it is a great addition to these truffles and a great way to sneak in more superfoods. NOTE: You do not AT ALL have to use Cacao Magic to make these AMAZING GOODIES but it really is great with this recipe and a great way to sneak in some superfoods!
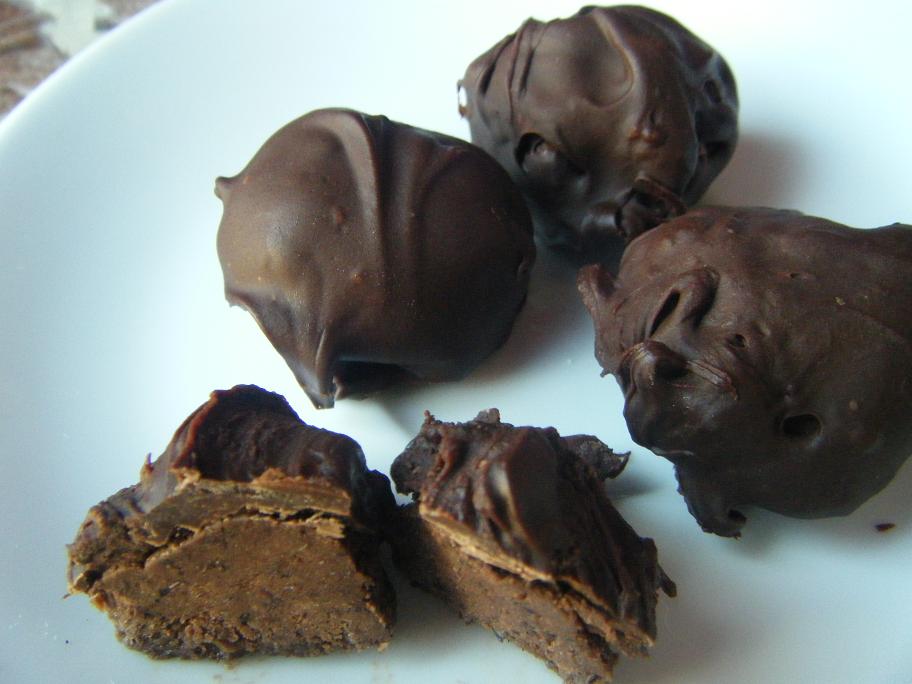
So now imagine all of those yummy ingredients blended well together and adding one more little touch…Try to imagine dipping these balls of bliss into now melted chocolate. What you get is now a smooth, dark, blissful bite that shows no trace of the beans and you are also NOW are getting in antioxidants. Are you with me? Of course you are!
We all love truffles. We take our time with truffles. They are rich, decadent, and a must have. We love the first hard, bite when our teeth break into the hard chocolate shell. We love what the center then fills our mouths with that rich, irresistible, wonderful flavor and texture. Well expect just that with this recipe! The only thing you can except that is different with these truffles, is that they are much healthier and that you can get away with eating more than one!
There is more I want to tell you. You can make this in 2 different flavors. One can be a peanut butter filling and the other way that I also love can be a coconut flavor filling. You will want to only pick one version in a batch though and not both! Sometimes I like the peanut butter while others I love the coconut so I always rotate. Both versions are great and it really depends on what flavors you want more of. I say try making it both ways.
NOTES: I recommend to taste the mixture before rolling it into balls to see if you want to add more sweet or salt. (Keep in mind though, that if you use a semi-sweet chocolate for the coating, it will add a bit of extra sweetness to the truffles.)
Although I said you can get away with eating more than one, all you need is one or two. Try to not eat them all in the “making process” though because I fail every time!
Enjoy~
Try all my Lightened-Up Treats!
Servings
15-18 Truffles
Ingredients
- 1 cup cooked black beans, (rinse and drain if canned)
- 1/3 of a banana
- 2 tbs of apple sauce
- 2 tbs peanut butter for pb version OR 2 tablespoons coconut oil (melted) for coconut flavor BUT not both – pick one.
- 1/4 cup cocoa powder
- 3 tbs of stevia
- pinch of sea salt, always the trick to hide the beany taste
- 2-3 tbs pure maple syrup, depending on your sweetness preference
- 1 tsp pure vanilla extract
- 1 1/2 tbs of Cacao Magic, optional. (You do not need this but I love it here and it is a great way to sneak in more superfood antioxidants. Plus it really tastes amazing.)
- dash of cinnamon, optional. (I just like it on everything.)
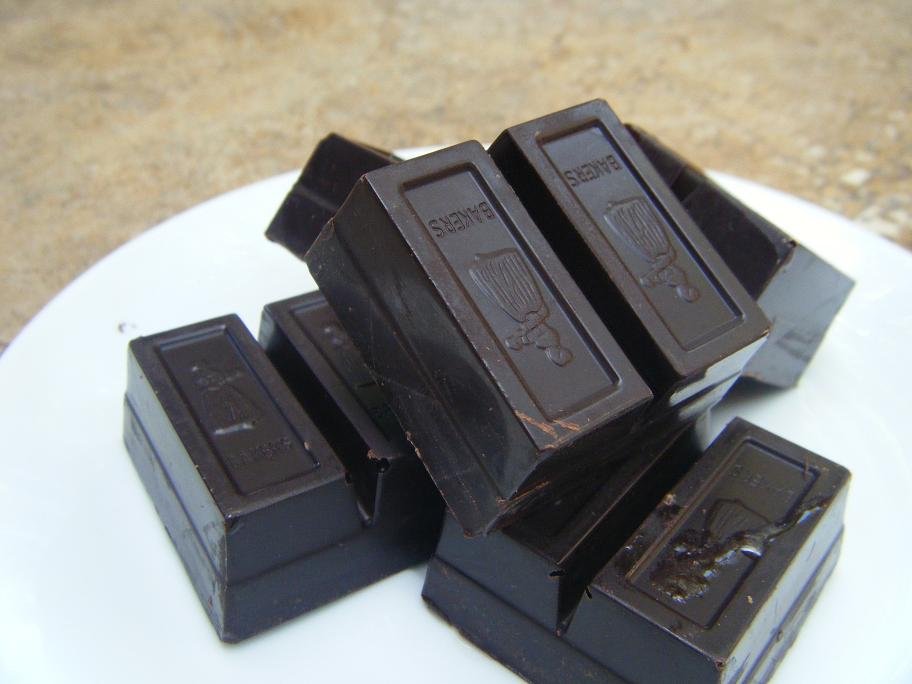
- 1 cup chopped semi-sweet chocolate or chocolate of choice (dark is great too or could do white chocolate also), for melting and coating
- Optional add-ins: nuts, seeds, dried fruit, etc. can all work!
Directions
- Place the beans, banana, apple sauce, peanut butter (or coconut oil), cocoa powder, stevia, salt, maple syrup, vanilla extract, Cacao Magic (if using not neccesary but really great in this recipe!), and cinnamon (if using) all in a food processor. Blend everything until well combined, scraping down the sides if you need to. It should start to get thick and form together. (Best part is you can eat it RAW thanks to this recipe being vegan, but try not to!). NOTE: You do need to try that batter here and make sure you like it to your taste preference -(salt/sweet ratios).
- Cover a baking sheet covered with parchment paper coated with cooking spray so they do not stick. (I love coconut oil spray for this too). Next, use a spoon and roll about a tablespoon size piece into a ball and place on the a baking sheet lined with parchment. Place in the freezer for about 30 minutes. (Try hard to not eat them at this point, I fail everytime!).
- Meanwhile melt the chocolate in a double boiler (or microwave). When the balls have chilled pull out just about half (you want them to stay cold, so do them in batches). Next carefully insert a (toothpick works great) into the center and dip in the melted chocolate to coat. You can place a spoon underneath for back-up if it drops in the chocolate. Place on parchment paper. Then I lightly use my two fingers to slowly remove the toothpick.
- Let chill again so the chocolate coating sets. Can be anywhere from 15-30 mins. Store in the fridge (or freezer). Now Enjoy!

